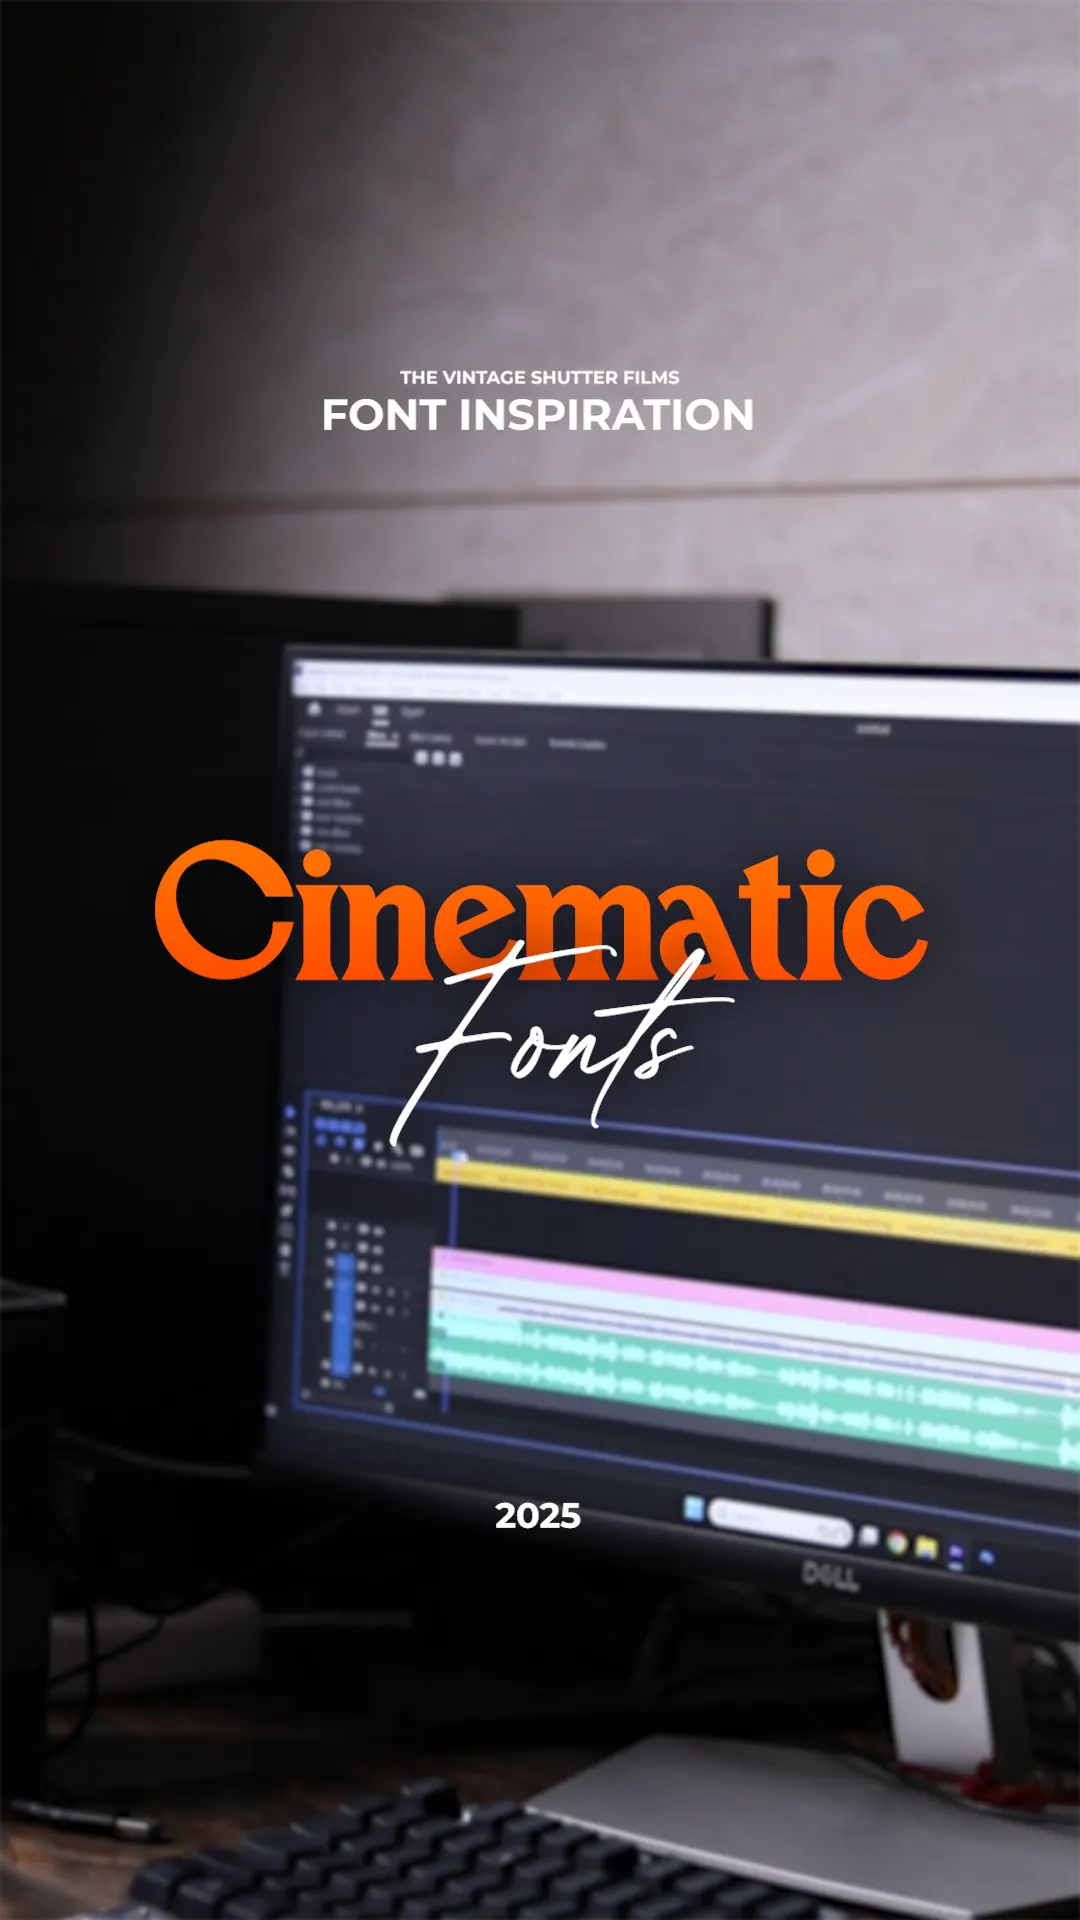
Why Reveal Effects Work So Well
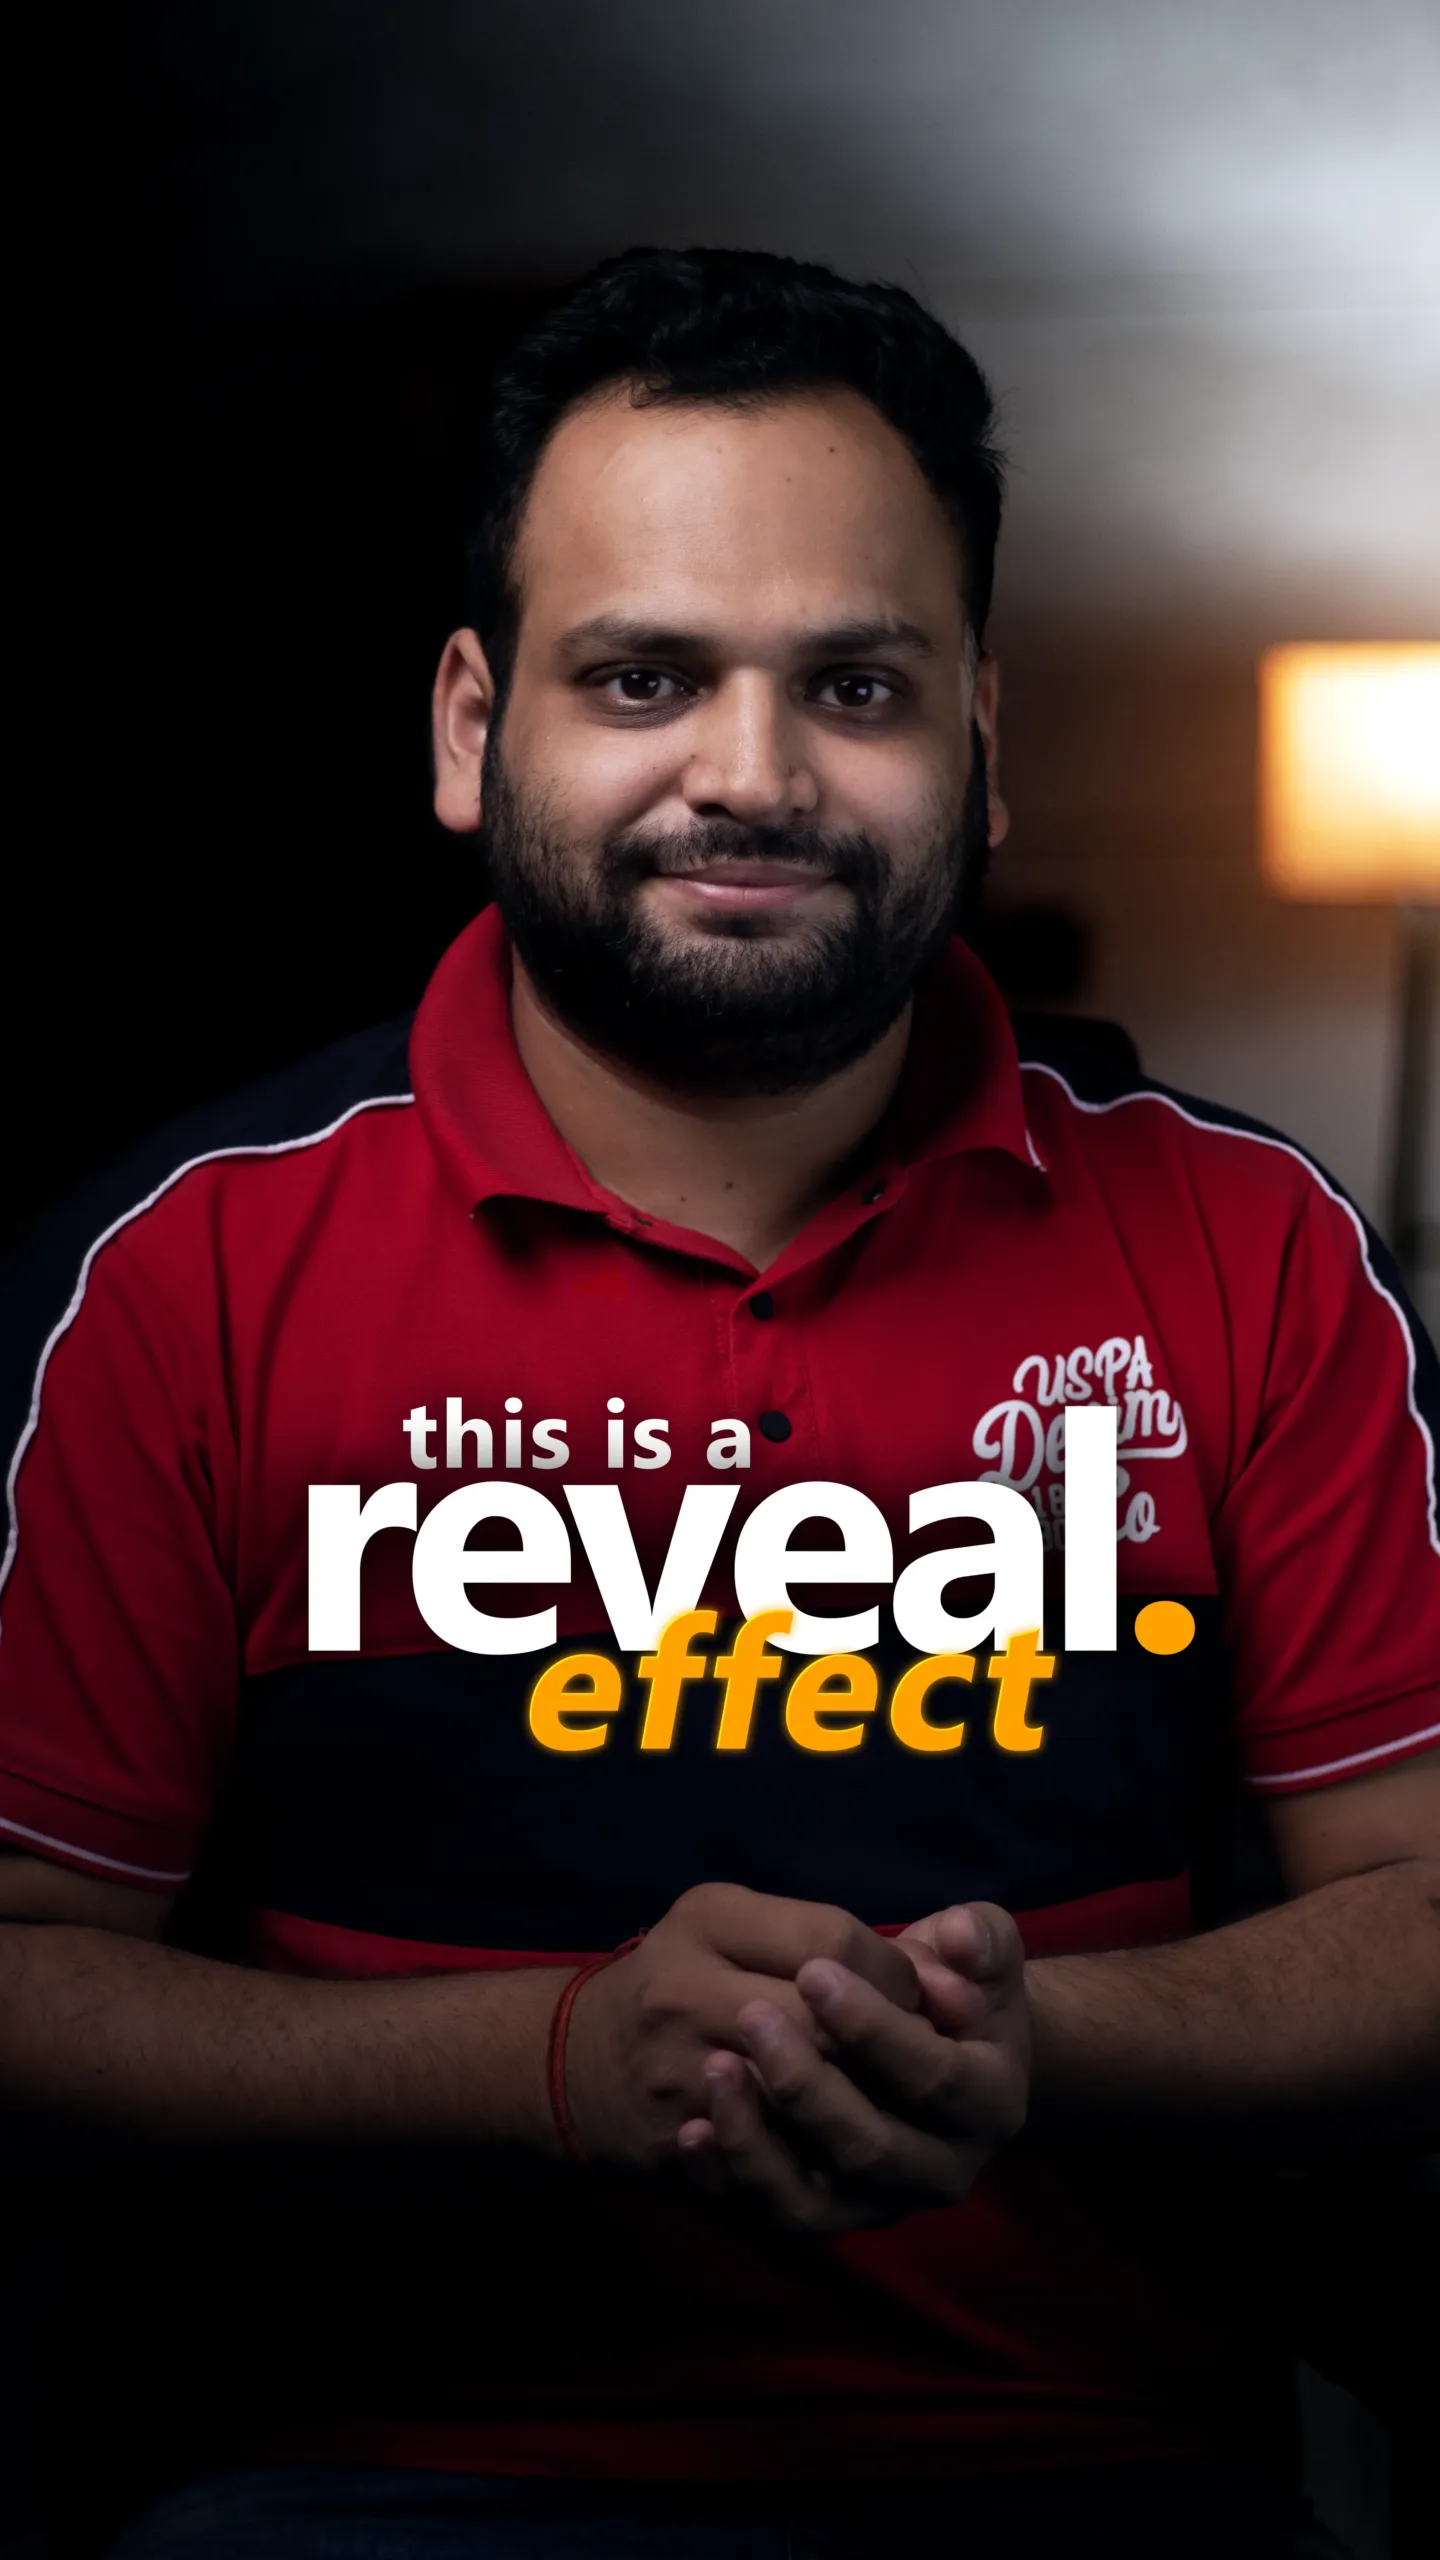
If you’ve ever scrolled through Instagram reels or YouTube shorts, you’ve probably seen transitions that make you stop mid-scroll. One of the most popular among them is the reveal effect — when the frame changes smoothly from one scene to another, almost like magic.
For my latest video, I wanted to break down not only how I edited the reveal effect in Premiere Pro, but also how we shot it behind the scenes. Because honestly, the editing room magic doesn’t work without good footage from the start.
And yes — the founder of The Vintage Shutter Films was there during the shoot, helping adjust lights, holding reflectors, and even tweaking the diffuser when light spots started messing with the frame.
Setting Up the Scene
Every transition starts with a plan. If you don’t shoot it right, no amount of editing in Premiere Pro will save it.
We began with a wide frame shot of the entire setup — cameras on tripods, lights positioned at different angles, and of course, the subject framed carefully. This wide shot worked both as BTS content for my audience and as a way for us to check the overall balance of the scene.
The Lighting Challenge
Light can make or break a reveal effect. Too much glare, and the transition feels jarring. Too little, and it loses the cinematic touch.
During this shoot, one of the overhead lights created harsh reflections that distracted from the movement we needed for the transition. That’s when we brought in a diffuser. By placing it between the light source and the subject, the diffuser softened the spots, making the frame smoother and easier to blend during editing.
Honestly, this one change was a lifesaver. The reveal effect later in Premiere Pro looked seamless only because the lighting was even and consistent.
Shooting Multiple Angles
To build a strong reveal effect, you need multiple shots of the same scene, captured with smooth camera movement. We experimented with:
- Wide shots to capture the environment.
- Close-up shots of hands and objects, adding detail.
- Tracking shots where the camera moved slowly across the frame, creating natural motion blur.
These variations gave us plenty of material to play with in Premiere Pro. When stitched together with the reveal transition, the result felt cinematic instead of forced.
The Editing: Building the Reveal in Premiere Pro
Here’s where the real fun started. With the footage in place, I opened Premiere Pro and began piecing it together.
Step One: Aligning the Shots
The reveal effect relies heavily on how two clips align. I matched the end frame of one clip with the starting frame of the next so the motion felt continuous.
Step Two: Adding the Mask
Using Premiere Pro’s masking tool, I created a shape that gradually “revealed” the second shot. The mask feathering smoothed out the edges, so the transition didn’t feel harsh.
Step Three: Adjusting Speed
To make the transition more cinematic, I added a slight speed ramp. The footage sped up just before the reveal, then slowed down smoothly once the new scene appeared.
Step Four: Color Grading
Finally, I applied a consistent color grade across all the shots. The cool tones from our blue temperature lighting tied everything together, while the softened diffuser light made sure no frame looked blown out.
Founder in the Frame
One detail I didn’t plan but loved? The moments when the The Vintage Shutter Films founder appeared in the BTS footage. He wasn’t there to “perform” — he was genuinely adjusting lights, moving the tripod, and giving input on the angles.
Including those shots in the video gave the audience a more human connection. Instead of feeling like a sterile tutorial, it became a collaborative, behind-the-scenes story. And that’s something audiences really respond to.
The Final Reveal
After hours of tweaking shots and polishing edits, we finally had it: a smooth reveal effect that blended seamlessly from one scene to the next.
The wide frames gave context, the close-ups added intimacy, the lighting was soft and cinematic, and Premiere Pro tied it all together with precision.
When the final video played back, it felt effortless — even though the process was anything but. And that’s exactly what I wanted my audience to see: the messy BTS, the technical setup, and the polished end result side by side.
Lessons from the Shoot
Looking back, here are the biggest takeaways:
- Shoot with the edit in mind. A reveal effect only works if the footage is aligned properly from the start.
- Lighting consistency is key. The diffuser saved us from messy hotspots that could’ve ruined the transition.
- Angles matter. Wide, close, and tracking shots gave us options during editing.
- Include the people. Showing the founder in the BTS added authenticity.
- Polish in Premiere Pro. Smooth masking, feathering, and speed ramps make all the difference.
Final Thoughts
Behind every smooth reveal effect you see online, there’s usually a cluttered room, lights being adjusted endlessly, and someone sweating over a timeline in Premiere Pro.
That’s why sharing the BTS-to-final process matters. It shows creators that cinematic results don’t come from fancy tricks alone — they come from careful planning, problem-solving, and attention to detail.
For us at The Vintage Shutter Films, this reveal effect was more than just an edit. It was a chance to show the art of transition: how wide frames, diffused light, multiple shots, and Premiere Pro’s tools all worked together to create something seamless.
So the next time you see a reveal transition that makes you pause, remember — there’s a diffuser, a wide shot, and probably a founder moving cables just out of frame.